Welcome to Part 4 of 8 on configuring CloudFlare as your DNS provider as part of my series on Kick Ass WordPress Optimization. If you're here you've either already set up your web server or you host your WordPress elsewhere.
What is CloudFlare you ask? Well, the general overview is this:
CloudFlare protects and accelerates any website online. Once your website is a part of the CloudFlare community, its web traffic is routed through our intelligent global network. We automatically optimize the delivery of your web pages so your visitors get the fastest page load times and best performance. We also block threats and limit abusive bots and crawlers from wasting your bandwidth and server resources. The result: CloudFlare-powered websites see a significant improvement in performance and a decrease in spam and other attacks.
You really can't go wrong here. They run many many many websites and have greatly sped up mine!
This topic will cover the following:
- Creating CloudFlare Account
- Importing/Adding your domain's DNS
- Configuring Your Domain for Cloudflare
Let's dive right in and get started getting your website to breakneck speed with the CloudFlare CDN service.
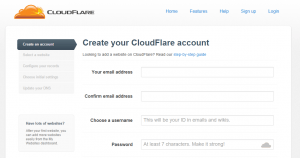
Creating CloudFlare Account
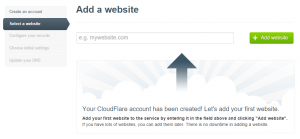
Importing / Adding Your DNS
You'll next run into a screen that looks a little like this:
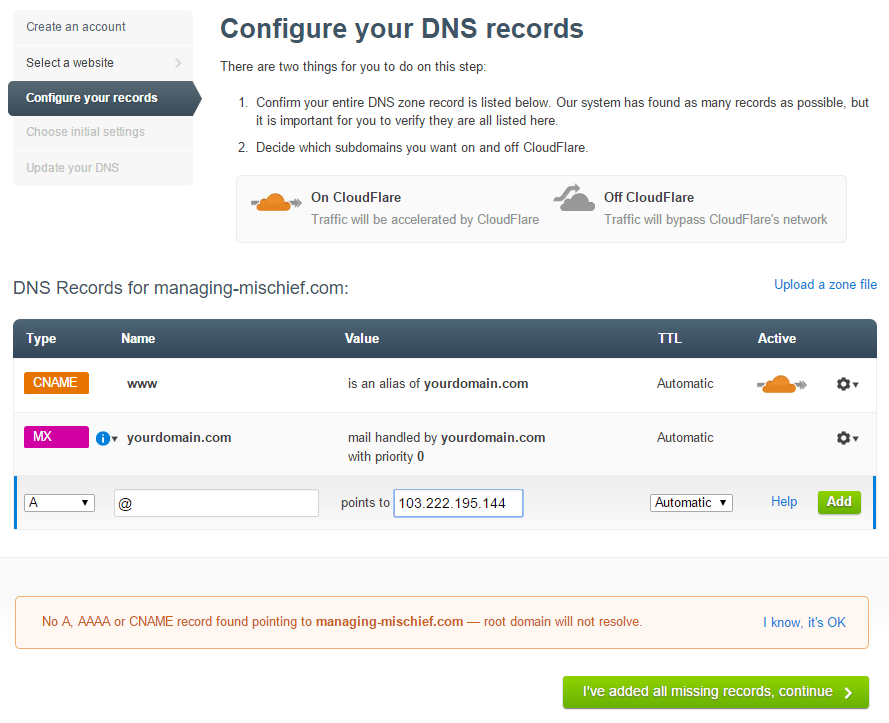
You'll want to change the inputs to look like the above, except with your domain name (or you can use '@' to refer to your domain name) and the IP address (remember that e-mail you got from Digital Ocean about your Droplet?).
Configuring Your Domain For CloudFlare
Once you've got this setup, let's head over to GoDaddy (or whoever your provider is) where you followed Step 1 and Got a Domain Name. Once you get there, go to My Account and Manage Domains. Once you get to your domain list, click on your website and you should see something like this:
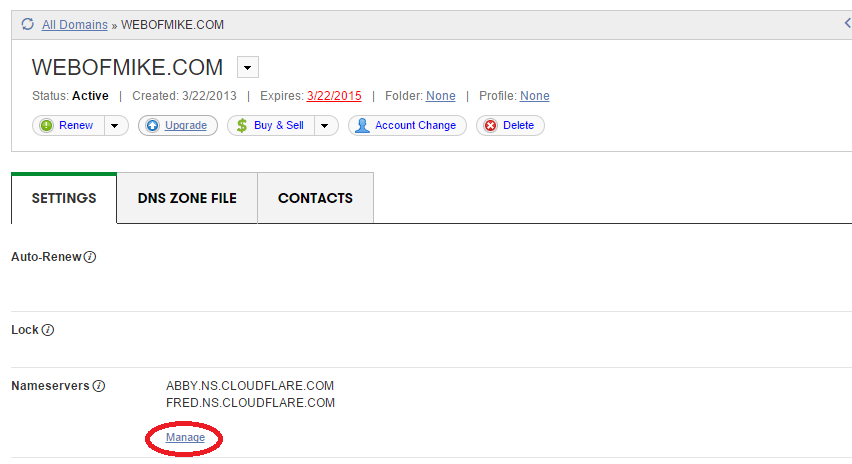
Click "Manage" (shown in the red circle). Then select "Custom" and enter the two name servers into the pop up like so:
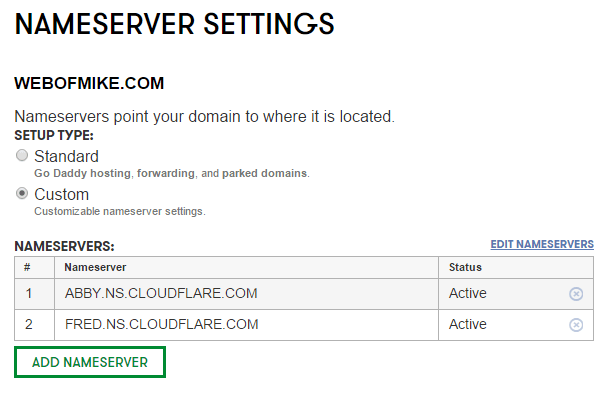
Once you're done with this make sure to click "Save" and ... You're done!
Now we can move onto the next step: Setting Up WordPress